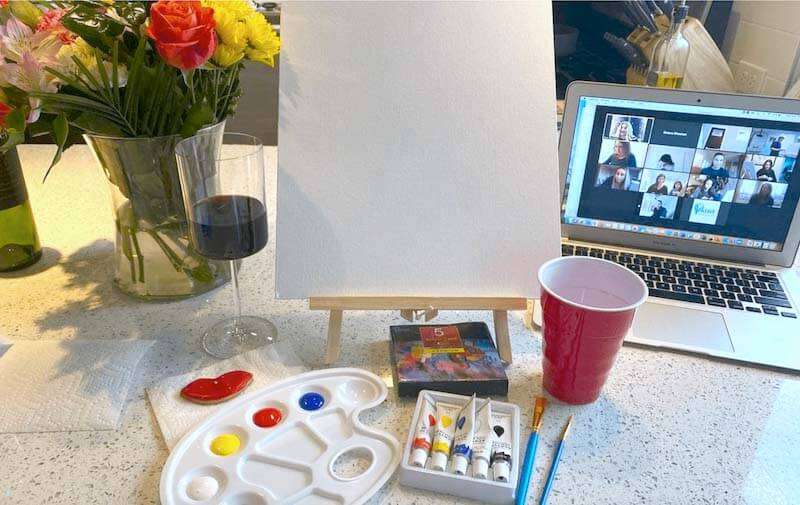
Get the right mould
How to make resin art photo frame?. Let's find out, but first, It is important to get the correct shape and size of mould for your photo frame. Here are the few links on Amazon to help you find a mould.
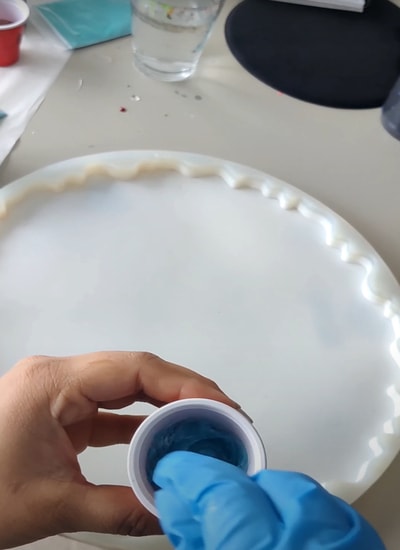
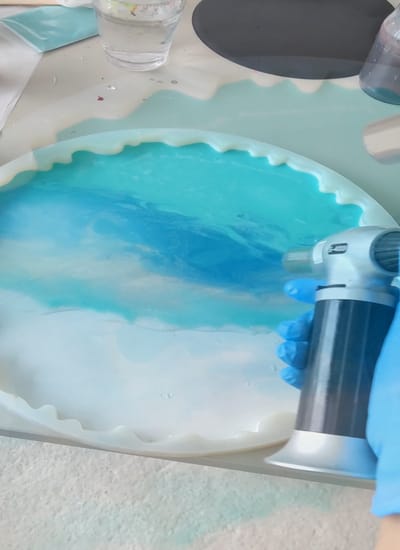
Mixing Resin with colors and getting first layer on Mould
Mix pigments with resin to make a colorful masterpiece
You can choose from either liquid or powder form, then pour different layers of colors on top for an even more creative effect. You might want try creating vibrant backgrounds that are just right in front by adding something special at this stage too!vibrant. Don't forget to use Torch so get rid of bubbles.
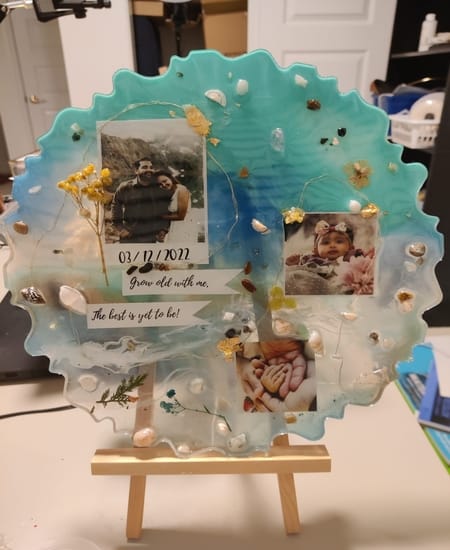
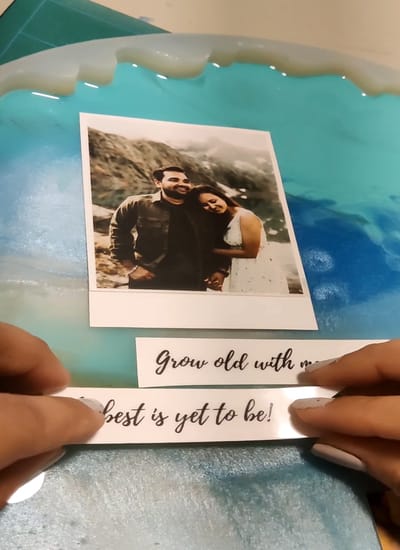
Decorate with objects that have personal significance to you - Pictures, Quotes, Lights, Real flowers etc.
This is the perfect time to put all you need in your photo frame. Mod podge photos so that they don't leak and watch this Blog "How-to: Make resin art with pictures" for ideas on what else can go inside! Be it small stones, real dried flowers or even light quotes--it's up to how creative of an imagination one has when making their own pieces.
How to demould the resin photo frame - The finished product
Be patient! Let your frame sit for a couple days before you demould it. The drying time depends on which resin one is using - there's no set rule. If nothing else works out well with this - try adding some more layers of resin on top as needed(but don’t overdo). If your resin is still bendy, we have an article to fix bendy resin