
Description
Join our String Art Workshop in Calgary at Palak StudioInk. Beginner-friendly, all materials included. $40 per person. Book your spot today! We will be making a masterpiece in this String Art Workshop. You’ll get step-by-step instructions on completing your String Art from start to finish. Take your created art piece with you! And make the wall of your room look amazing.
Palak is an experienced artist and loves teaching.
What is inclusive in String Art workshop?
- Guided instructions throughout the String Art workshop.
- All Art materials are included.
Please arrive 5 minutes early to settle in before we start.
Trust the process and dive in to make a beautiful piece of art. Only your presence is required:)
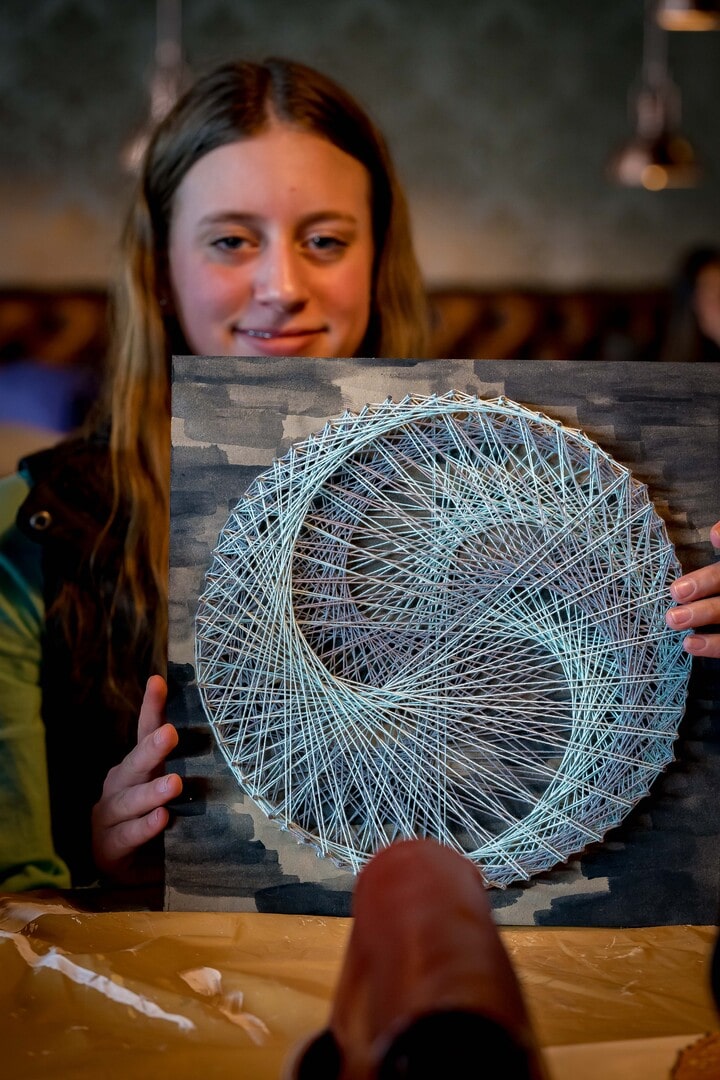
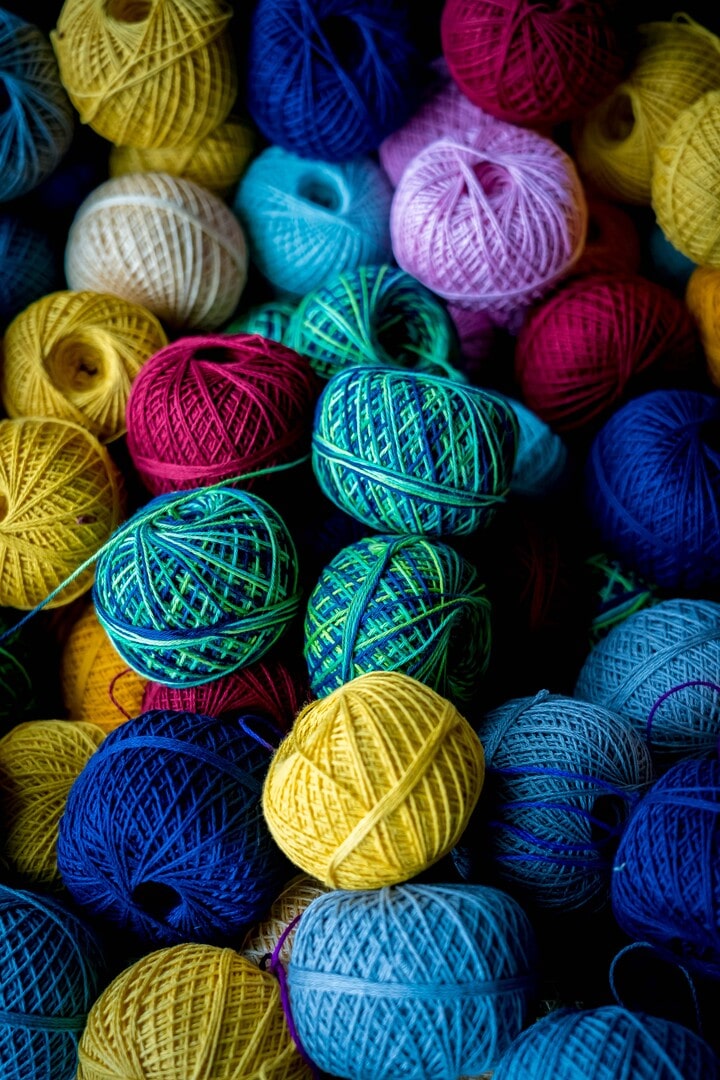
Learn the string art patterns. String art is a rare art form in which thread is used as a medium to create geometrical patterns, designs, etc. as shown in the post. Learn new painting techniques to create your favorite background with your color palette to make your artwork interesting.
All materials like paints, threads, prints, etc. will be provided in the workshop. Learn to combine GEOMETRY with ART.
All ages are welcome. Walk-ins welcome based on availability — reserve your spot online to guarantee a seat.
You can also register your friends and family or attend as a couple. This could be a wonderful activity to do on your date night. 🙂
Call or Text (587) 800-2110 for any inquiries.
Breaking down 2 Hours of Agenda
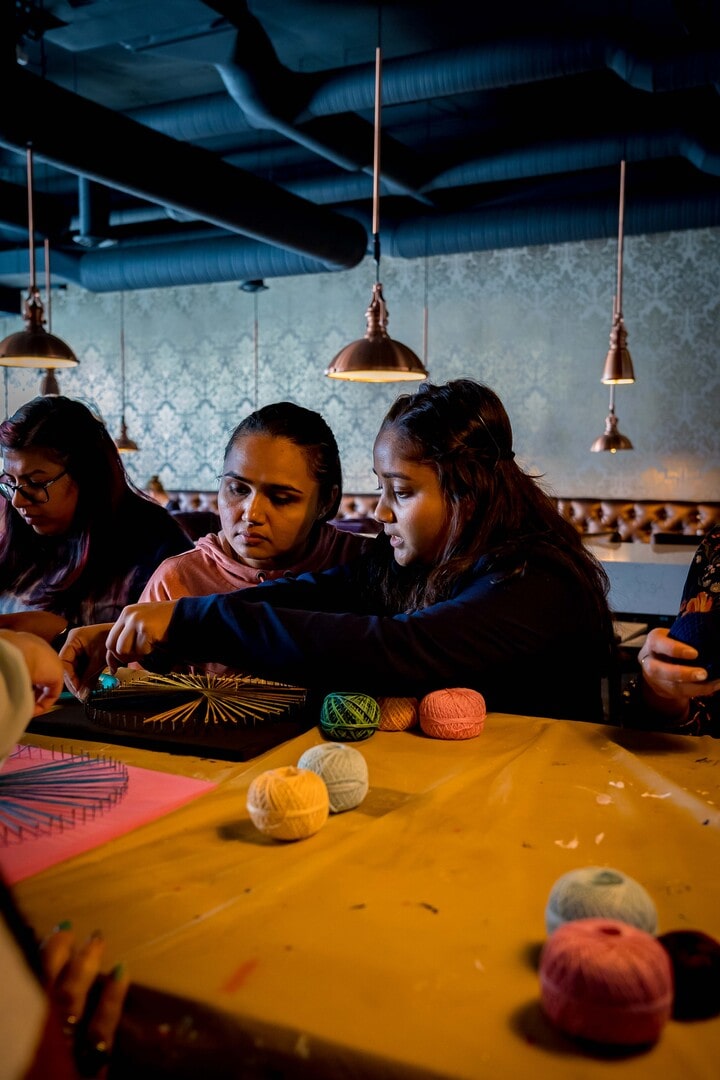
Brief introduction on string art. Deciding on color combination for the workshop. Spend 15 minutes Discussing the design choices and allowing participants to select their preferred design and decide on color combinations for the wooden base and the thread. Our instructor is very helpful in helping you decide the color combinations if you are confused.
All participants will be provided with wooden board, paint, color palettes with paint and brushes. Now is the time to get your hands into painting and get the base for the string art ready.
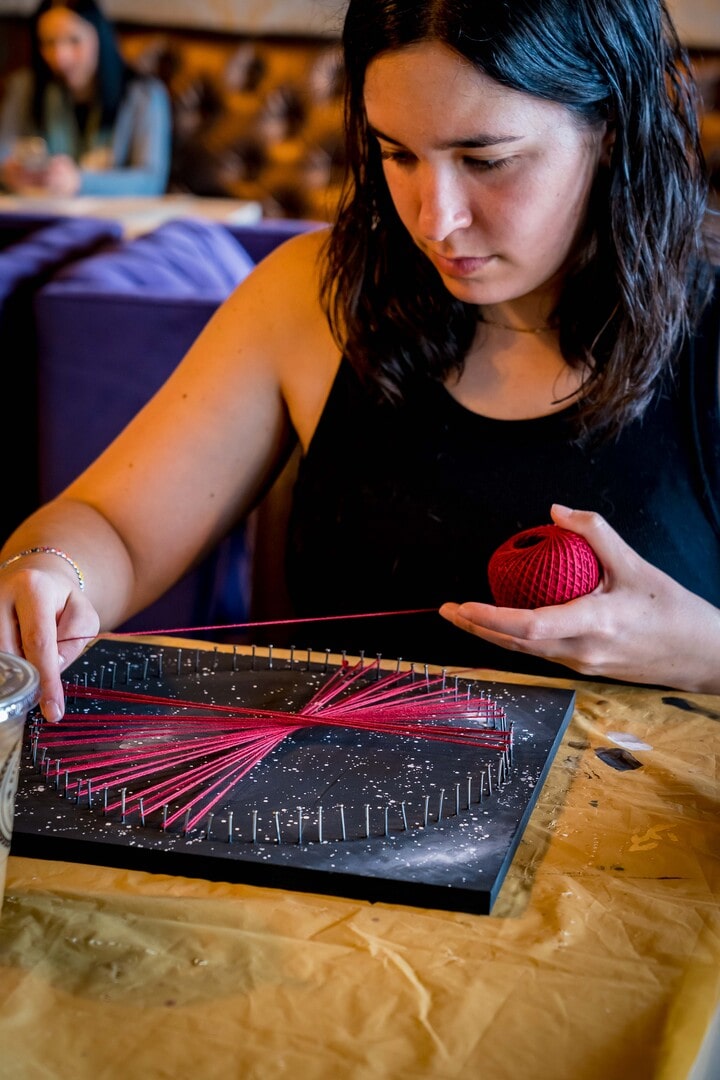
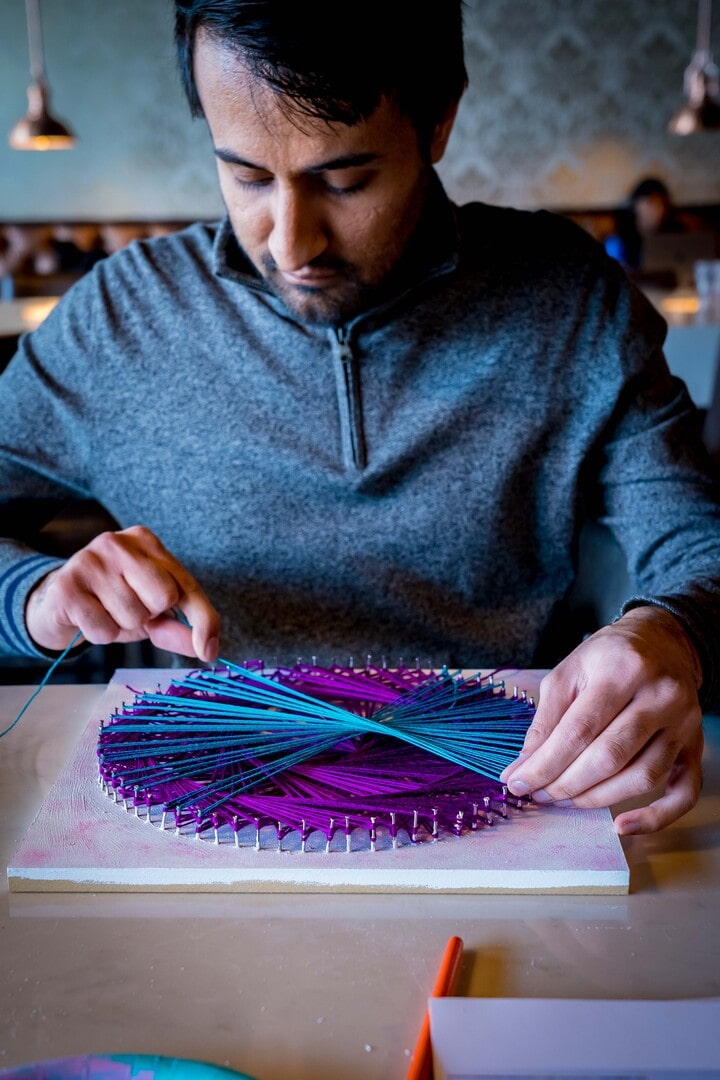
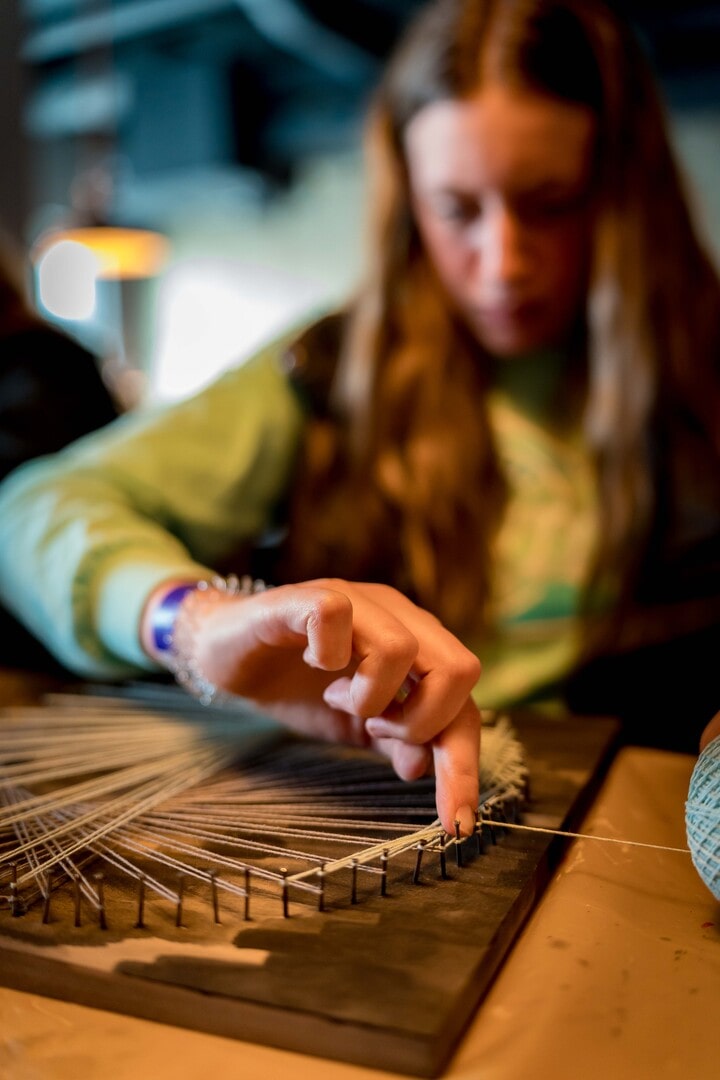
Once you know which pattern you would like for the string art, you will be guided for doing the entire string art. It might seem little complicated in beginning but trust us, once you get it it becomes very soothing and easy too. We encourage creativity and experimentation in workshops so feel free to talk about your thoughts with the tutor.
Once done with the string art, comes the best part – showing your work to each other. Followed by a Q&A session where you are free to ask questions to the tutor or each other about the process of the individual’s string art. Because everyone would have selected different color combinations and a different design, all the outputs would be so different to look at.
Thank all participants for coming to the workshop. Feel free to hang around the café if you wish to. Note: The actual timings for each segment might vary slightly based on the pace of the participants and any unforeseen circumstances.

Most Common Questions
Is this workshop easy for everyone?
String art might look as very intricate and difficult design but with correct guidance it can turn out to be pretty easy. It has got lot of repetitions and hence once learnt it is an easy catch.
What do you need for String Artwork?
One can create string art wooden board or any hard base which can take the nails. Wooden board, nails, printout with markings of nails, embroidery threads, scissor, paint and brushes are some of the basic materials required for string art.
How to make string art step by step?
It depends on the design you choose. Although, there are some steps which are common in every string art design which is beginning with a starting knot, doing the string pattern and end knot.
How to do string art for beginners?
Most of the participants in my workshops are absolute beginners with next to no knowledge of string art. It is a great medium to learn for beginners as well. As a beginner if you are doing string art without any guidance, I would recommend to get all the materials required gathered first.
How do I paint the background?
Paint goes on the base which is wood. Wood is painted, nailed and then thread art is done on it.
How to do string art with nails?
Nails are one of the best choices for string art because of their stability. The wooden board is first marked to know where exactly the nails are going. Nails are then hammered to get the board ready for string art. Once the board is ready, it can be completed on the board.
How to tie off string art?
String art can be tied off with the same knot that you started with. Both knots should be tight to secure the string art for years coming. Once completed with end know, trim off the excess threads and your string art is ready for display.
How to make thread patterns?
Creating each thread pattern has a different technique. Some might not need so much concentration while others might need your 100% attention to know which threads are going where. Deciding which pattern one would like to make and understanding how to do it is the base of string art.
When does it end?
String art ends with an ending knot. One of the last steps is to trim any access thread and to make it nice and tidy.
Nirali Vora –
The best string art workshop
Bhavisha Gandhi –
The string art workshop was amazing!
Nishi Shah –
loved the string art workshop 😍 everyone here so friendly and humble😌 definitely worth it …
Swati Guleria –
It’s was wonderful experience.really enjoyed string art process😍 …
Kathy Pham –
Had such an amazing experience with Palak during her string art workshop!
She was super knowledgeable and helpful, guiding me each step of the way!
I loved the way my art turned out and I highly recommend attending her classes with your friends!
Viha Vora –
An amazing experience of doing string art for the first time ..had the best time and a great mentor ♥️