how to make resin bookmarks with names?

Resin bookmarks are all the rage right now and for good reason! They're beautiful, unique, and perfect for adding a special touch to any book. Plus, they're really easy to make at home with just a few simple supplies. So if you're looking for a fun new crafting project, keep reading to learn how to make your own resin bookmarks!
resin bookmark palak studioink

Table of Contents

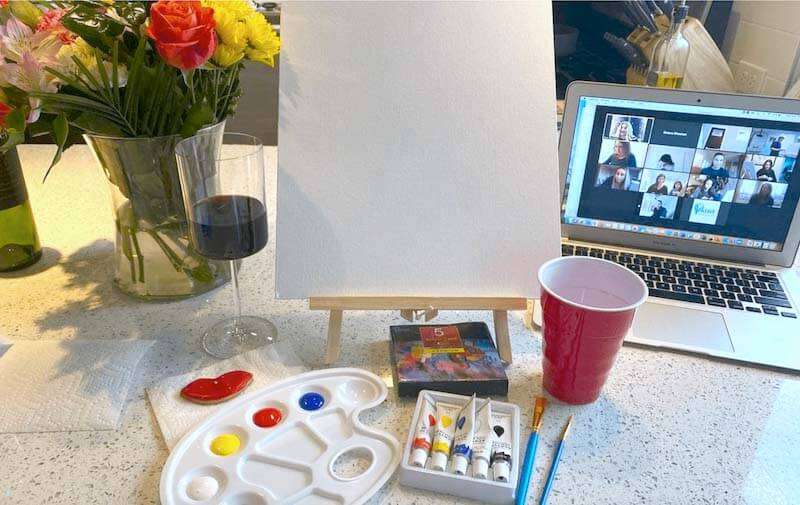
List of Materials required​

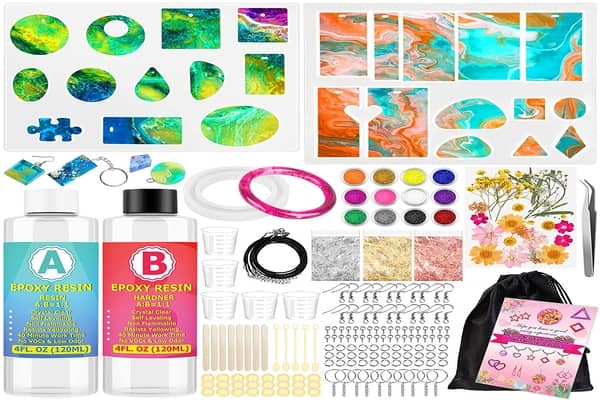
Buy these materials on amazon.ca

get all the materials you'll need for the project in one place

Get the materials for this project on one table. Get everything you need before starting so that your working time is smaller and more manageable, giving yourself enough room to work with resin!

A cloth or plastic covering working space should help keep things clean while we're getting started.

Mix the resin and Hardner 1:1​

Take the plastic cup which comes with your resin kit, and mix together equal proportion of both materials using a wooden stick that is also packaged inside. Mix it throughly in one direction.

photo : https://www.resinobsession.com/resin-frequently-asked-questions/how-to-measure-and-mix-epoxy-resin-and-hardener/

first photo of blog

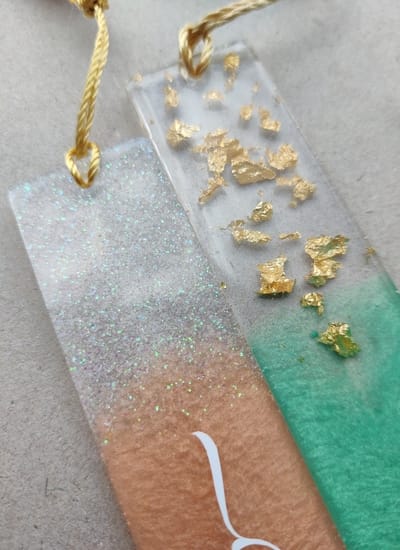
Let's add colors and gold foil flakes​

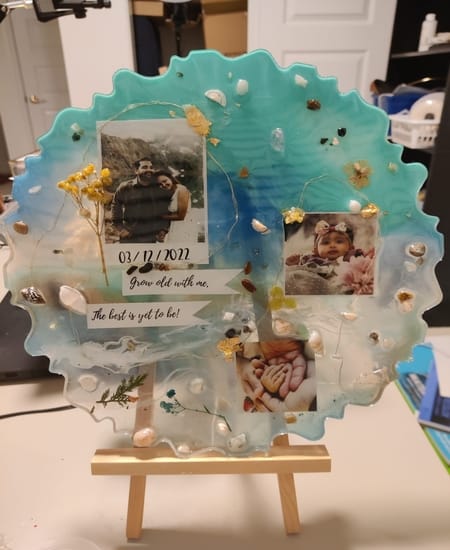
Create a personalized bookmark by adding fine glitters and gold flakes to different resin cups. You could also place flowers inside the mold, then get clear resin over it to seal flowers

Pour resin into bookmark mold​

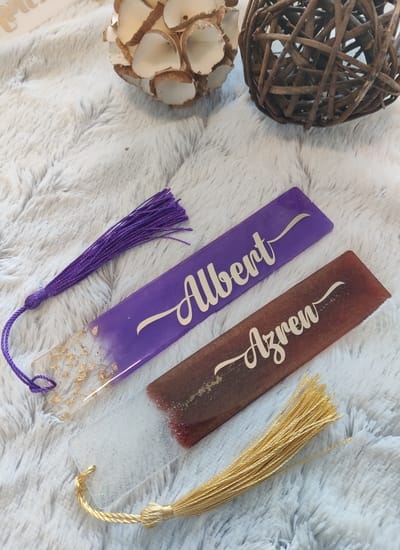
As a beginner, you should only use two colors for your bookmark. More than this can ruin the quality of work and make it difficult to see what's going on in each page with various shades flowing together too much--I wouldn't recommend going any higher than three unless you really know what your doing! You need to be very careful while pouring it, you don't want to overfill it causing a spill. If you underfill the mold, you will get a weird flipping on bookmark which might be sharp. Fill it up exactly to the mold thickness.

Use Isopropyl spray on resin to get rid of the bubbles. Just couple of sprays should work fine to get transparent look.

let it dry for atleast 24 hours​

The resin needs at least 24 hours to dry. You can cover it and keep in place, or leave undisturbed for the time being as you go about your day--it's up to you! If you would like to make your bookmark personalised, Add you name after it dries up. Cricut can give you some best options or you can get cricut cut from a local supplier.

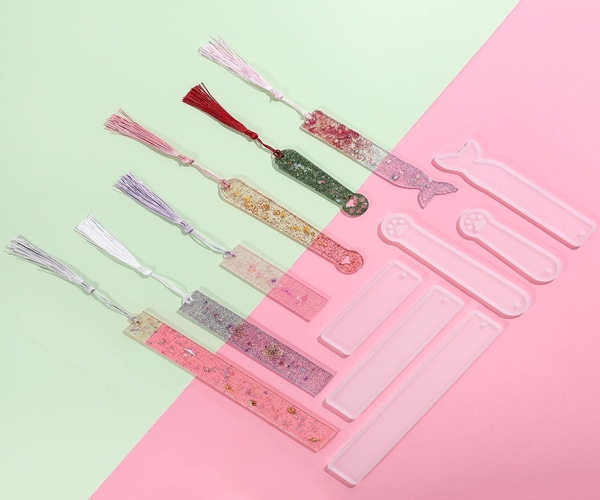
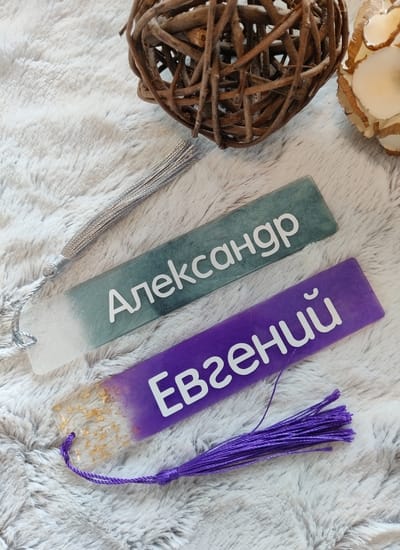
Unmold your bookmark and use tassle​

After 24 hours, touch the bookmark and see if it is dry to touch. If your proportion of mixing resin was good, it should have dried up. Unmold your bookmark slowly and get the tassle in. your beautiful bookmark should be ready! If it is bendy, find a reason behind why your resin is bendy?

Conclusion

I hope you enjoyed making your own bookmark. If you enjoyed this project, be sure to check out my other blogs for more fun and easy DIY projects. Thanks for reading!

Social Share

MORE ARTICLES